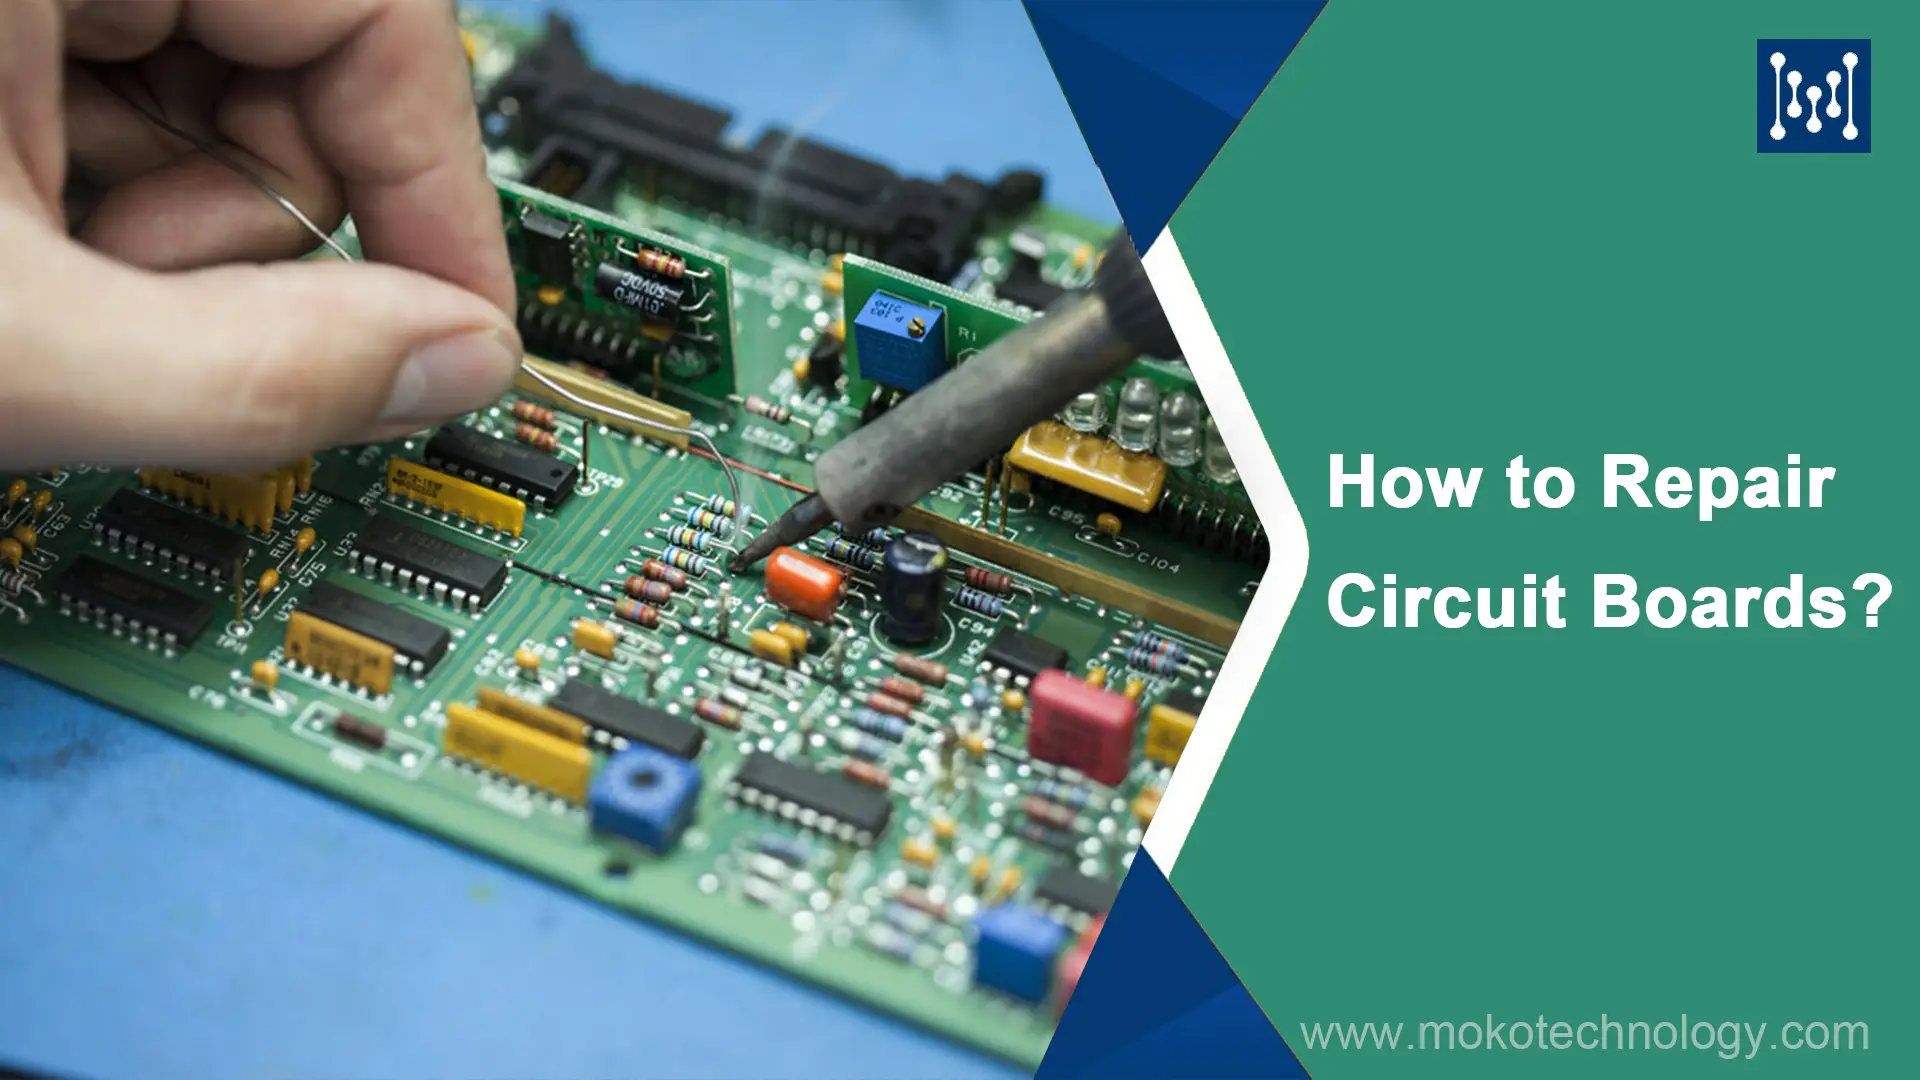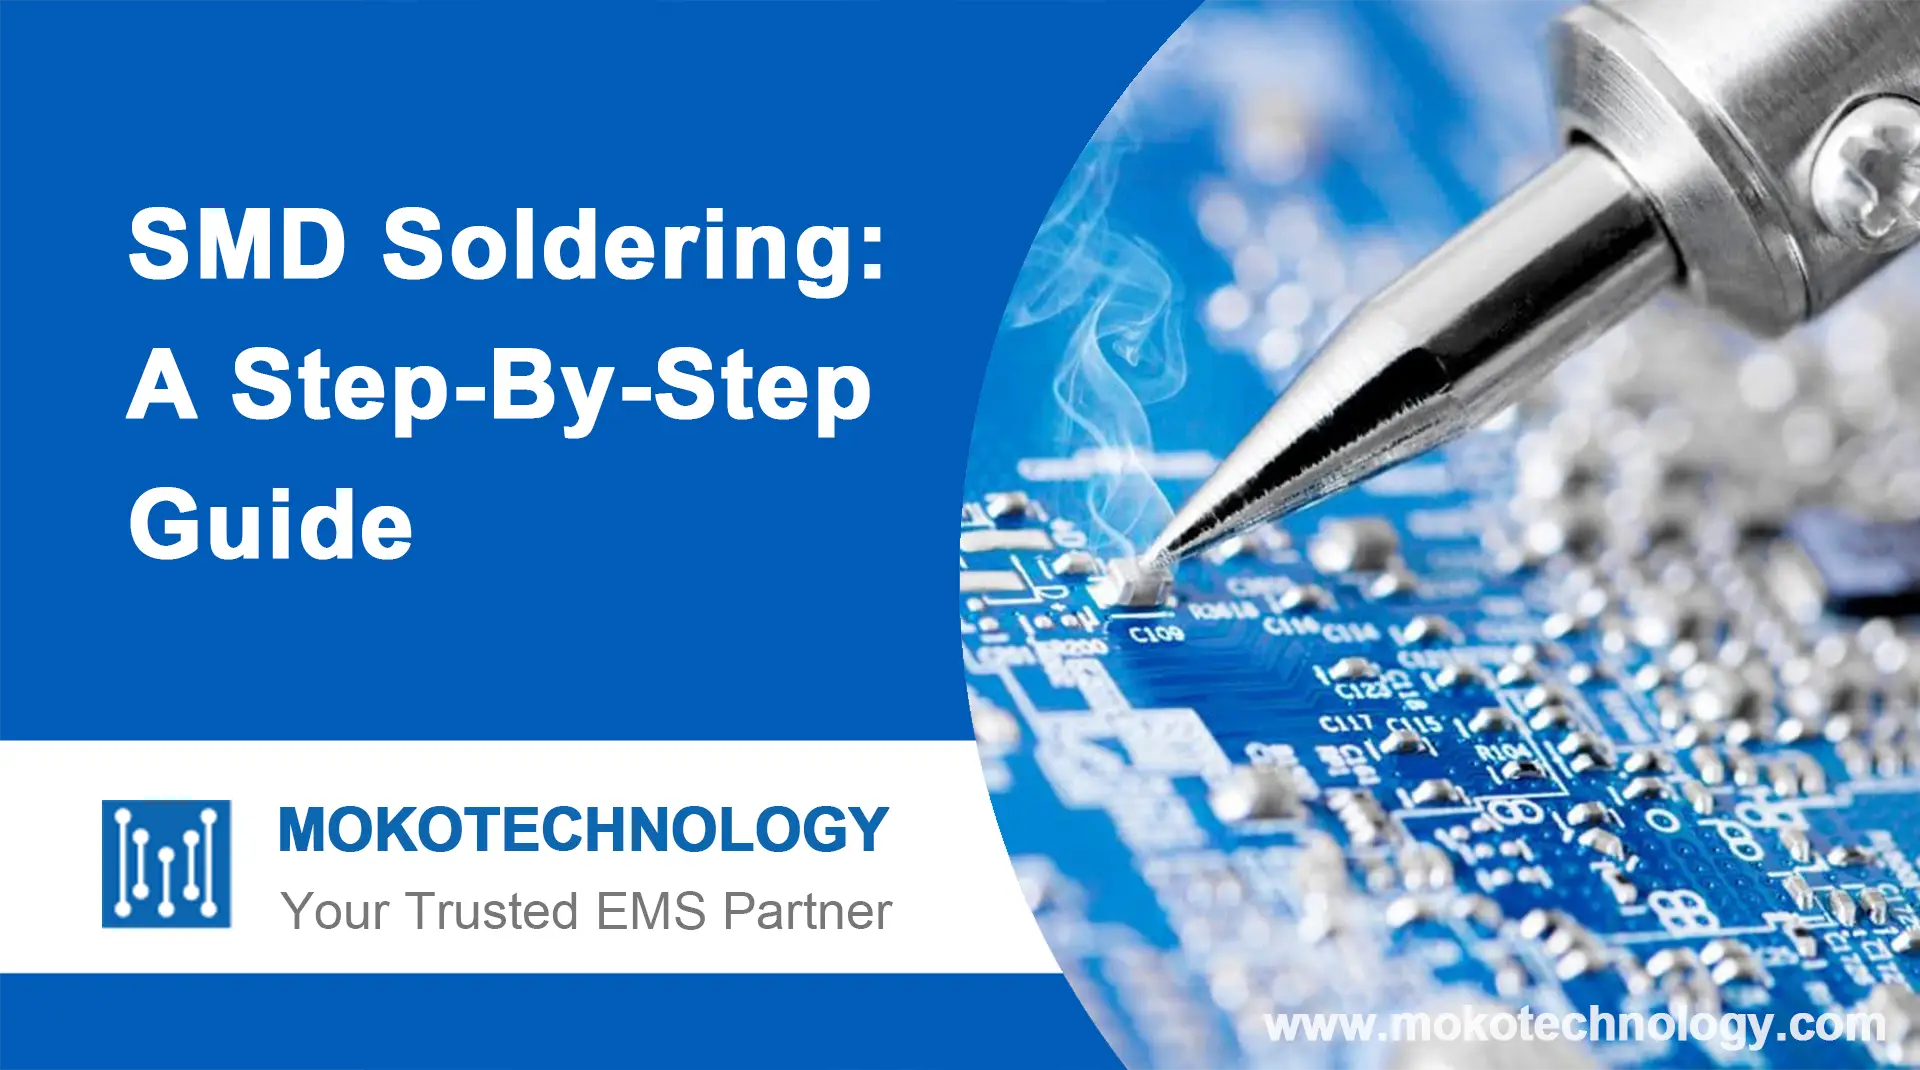
SMDはんだ付けとは、表面実装型電子部品をプリント基板にはんだ付けする工程を指します。電子機器やプリント基板が小型化するにつれ、 SMDコンポーネント 回路設計において、SMD部品の需要は飛躍的に増加しています。SMD部品の小型化は、回路基板上の部品密度を大幅に向上させ、現代の電子機器の小型化に貢献しています。しかし、その小さなフットプリントは、組み立てとはんだ付けにおいて特有の課題も生み出します。このガイドでは、主要な工具と材料、SMD部品の適切なはんだ付け手順、そしてSMDはんだ付け後のリワークをマスターするための方法を解説します。
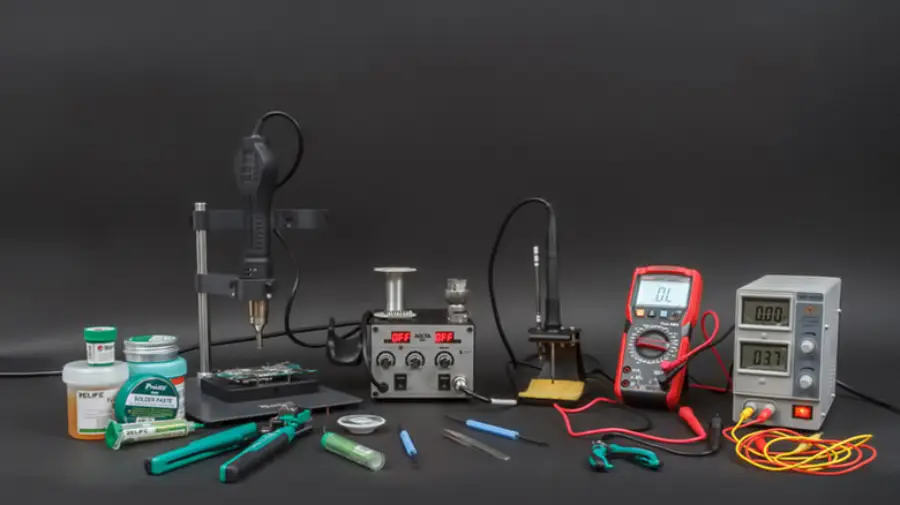
不可欠 SMDはんだ付けツール &材料
表面実装デバイスのはんだ付けには、小さな部品を扱い、精密なはんだ接合部を作るために、特殊な工具が必要です。以下に、必要な必需品をいくつかご紹介します。
はんだごて – 15~30Wの出力範囲の先端が細いはんだごては、SMD作業に最適です。0.5mmの先端まで使用できます。温度制御機能により、過熱を防止できます。
ホットエアーはんだ付けガン - さまざまなガンチップを装備し、熱風を使用してはんだまたははんだペーストを溶かします。
フラックス – 通常はロジン溶液またはフラックスペーストを使用します。ペン型またはニードル型のアプリケーターを使用すると、使用量をより正確に制御できます。
洗浄剤 – PCB クリーナーまたはイソプロピルアルコールは、通常、ブラシまたは綿棒と組み合わせて、残留フラックスを除去するために使用されます。
はんだペースト – はんだペーストは、粉末状のはんだ合金とフラックスクリームの混合物です。これにより、部品を実装する前に、SMDパッドにはんだを正確に塗布することができます。
顕微鏡 – 小さなはんだ接合部や部品の配置を検査するには、実体顕微鏡または拡大鏡が不可欠です。20倍から40倍の倍率の顕微鏡が一般的です。
ピンセット – 先端が細いピンセットを使用すると、0201または01005サイズ(0.25mm x 0.125mm)の小さなSMD部品を正確に取り扱い、配置することができます。静電気防止ピンセットが推奨されます。
はんだ付けヘルピングハンズ – 拡大レンズ付きのヘルピングハンズツールを使用すると、はんだ付け中に顕微鏡の下でハンズフリーで PCB を配置できます。
ステンシル – PCBステンシル はんだペーストは、PCBのはんだパッドのレイアウトに合わせてレーザーカットされた薄い金属板です。はんだペーストを塗布するには、ステンシルをPCBに位置合わせし、ステンシルの開口部を通してペーストをパッドにスクリーン印刷します。ステンシルを使用することで、SMD部品を配置する前に、はんだペーストを正確かつ効率的に塗布できます。
治具 – 治具は基板を斜めに配置するのに役立ち、手作業によるはんだ付け中にコンポーネントの下のはんだ接合部の視認性とアクセス性を向上させます。
はんだ吸い取り/はんだ除去ツール – はんだ接合部を除去または再加工したり、修理作業のためにコンポーネントをはんだ除去したりするには、特殊な真空ツールが使用されます。
はんだ吸取線(はんだ除去用ワイヤー) – 不要なはんだを除去するために使用される、フラックスが添加された銅線を編んだもの。
SMDはんだ付けツールの選択:クイック決定表
SMDはんだ付けを始める前に、扱う部品の種類に最適な工具を知っておくことが重要です。これによりスムーズな作業が保証されます。以下に、シンプルで分かりやすい推奨表を示します。
| コンポーネントタイプ | おすすめのツール | Why | 難しさ |
| チップ部品 | はんだごて | 露出したパッドと簡単にアクセスできる | 非常に簡単 |
| SOIC | はんだごて | 鉄製の先端が付いたガルウィングリードに簡単に接触できます | 初級 |
| QFP | はんだごてまたはホットエアガン | 細ピッチリード | 技法 |
| QFN | 熱風銃(推奨) | パッドはパッケージの下にあります | ハード |
| BGA | 熱風銃(必須) | 完全に隠されたはんだ接合部 | とても厳しい |
SMDはんだ付けのやり方:プロによるステップバイステップガイド
PCBを徹底的に洗浄し、付着している可能性のあるゴミや酸化物を除去して準備します。その後、はんだごてまたはホットエアーはんだごてを使用して、SMDのはんだ付けを開始します。
はんだごてを使ったSMDはんだ付け: QFP14×14-G80 の例
ステップ1:事前準備Tイニングとコンポーネント配置
- 基準となるPCBパッドに少量のはんだを塗布します。
- QFP14×14-G80をパッド上に配置します。片方の角は、あらかじめはんだ付けされたパッドに固定されます。
- QFPのリード線を基板上のパッドに慎重に合わせます。
- はんだごてで、あらかじめはんだ付けされたパッドと対応するリード線を軽く接触させて、チップを仮止めします。
ヒント:チップは所定の位置に固定されました。必要に応じて、向きをわずかに(±2°)調整できます。
ステップ2:反対側のコーナーリード線を固定する
- リード線を最初の角の対角線上に半田付けし、チップが基板上に固定されるようにします。
ヒント:すべてのリード線とパッドを目視で確認してください。正しく位置合わせされていない場合は、調整と再はんだ付けが必要です。
ステップ3:はんだ付け
- チップの片面にハンダを塗布する。
- 溶かして、その側のすべてのリード線をコーティングする。
ヒント:この時点では、リード線同士が短距離になっていることが想定されます。次の手順でこれを修正します。
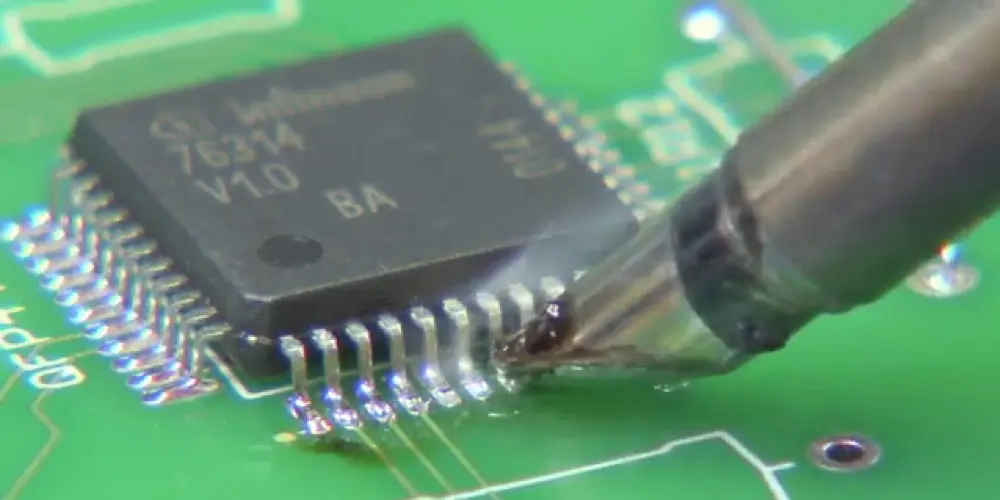
ステップ4:余分なはんだの除去
- 基板を少し傾けます。はんだごてを使って、電流側のリード線のはんだを加熱します。
- はんだをリード線の方向に沿って引き伸ばしてください。これにより余分なはんだが除去され、リード線間の間隔が均等になります。
- はんだ吸取線を使って、最後の数本のリード線の間に残っているはんだをすべて取り除きます。
ヒント:余分なはんだは重力の影響で自然にパッドから分離します。必要に応じて、はんだの流れを良くするために、リードに少量のロジンフラックスを使用してください。また、はんだの除去効率も向上します。はんだごてを長時間接触させないでください。
ステップ5:すべての面について繰り返します
- チップの両面について、この手順を繰り返してください。
- すべての面の作業が完了したら、各リード線を点検し、適切に半田付けされていることを確認してください。
SMDはんだ付け ホット Air S老化 Gun
ステップ1:はんだ付け前検査
PCBパッドのはんだバンプが十分かどうか検査します。はんだ量が不足している場合は、はんだごてでパッドに少量のはんだを塗布します。はんだバンプがない場合は、PCBステンシルを使用してパッドにはんだペーストを塗布します。
ステップ2:フラックス塗布
リフロープロセス中の適切な濡れ性を向上させるために、コンポーネントのピンとパッドの両方にフラックスを塗布します。
ステップ3: コンポーネントの配置
ピンセットを使って、SMD部品をPCBパッド上に正確に配置します。リード線がパッドに正しく揃っていることを確認してください。
ステップ4:予熱
はんだ付けする前に、ホットエアガンを使って部品の周囲を軽く予熱してください。これにより熱衝撃を防ぎ、均一な加熱が確保されます。
ステップ5: リフロー はんだ付けプロセス
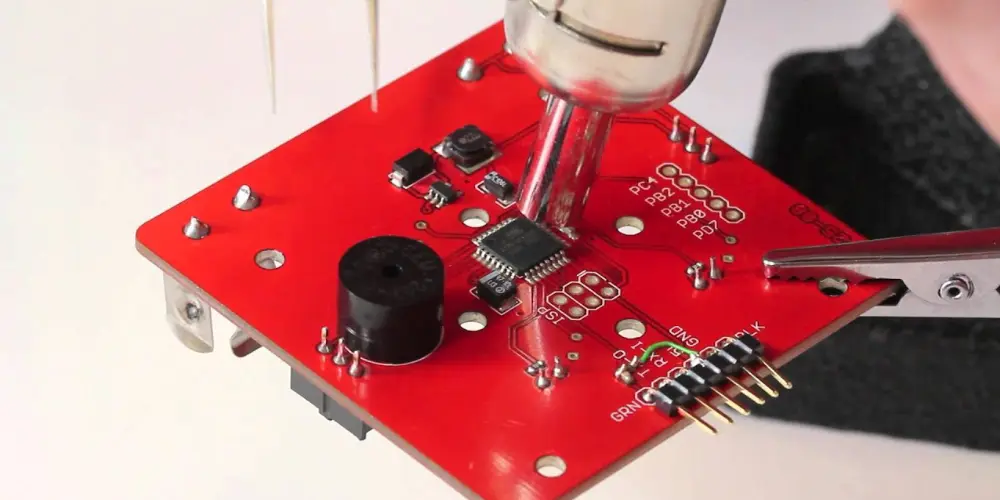
はんだが溶けてリフローするまで、部品に熱風を均等に当てます。小型SMD部品の場合は、表面張力によって部品が正しい位置に自然に整列します。QFP部品を扱う場合は、加熱中にピンの位置合わせに注意してください。まず1列のピンをはんだ付けし、位置合わせを確認してから、他の列をはんだ付けすることをお勧めします。
ステップ6: 最終検査 &クリーニング
はんだ付けが完了したら、欠陥がないか点検してください。イソプロピルアルコールとブラシまたは綿棒を使って回路基板を清掃し、残留フラックスを除去してください。
はんだ付け工程で従うべきヒント
- 敏感な部品の損傷を防ぐために、はんだごての最低有効温度を使用してください。
- 接合部への熱伝達を最適にするために、接合部間のはんだ付け先端を清潔に保ちます。
- 各接合部に適切なフィレットが形成されるように、はんだ付けの量は適量にしてください。はんだが不足したり多すぎると、接続が不安定になる可能性があります。
- はんだの流れと濡れ具合を観察し、必要に応じてフラックスまたは事前錫パッドを再塗布します。
- すべてのはんだ接合部が冷えて硬化するまで、PCB に触れたりぶつけたりしないでください。
- 可能であれば、BGA や QFN などのコンポーネントの下を目視で検査します。
- 取る ESD 接地用リストストラップやマットなどの予防策。
- 中心から外側へ、または小さなコンポーネントから大きなコンポーネントへと体系的に作業します。
- パッドの浮きや PCB の損傷を防ぐため、1 か所に長時間熱が集中しないようにしてパッドを涼しく保ちます。
はんだ付けにおける一般的な欠陥:原因と予防策
適切な工程を用いても、SMD部品のはんだ付け不良が発生する場合があります。そのため、その原因と適切な予防策を理解することが重要です。
| 欠陥 | 目的 | 安全防災 |
| 冷間はんだ接合 | はんだごての温度が低すぎるか、はんだ付け時間が不十分です。 はんだが完全に溶ける前に除去された。 | ・適切なはんだごて温度を確保する(鉛フリーはんだの場合はさらに高くする) はんだごてを外す前に、はんだが完全に溶けてリードとパッドが濡れるようにしてください。 |
| はんだブリッジ | はんだの量が多すぎる – 大きな鉄の先端、または不安定な操作 | はんだ吸取線またははんだ吸取器を使用して余分なはんだを取り除きます。 より細いこて先を使用し、はんだの量を調整してください。 |
| コンポーネントの位置ずれ | はんだ付け中に部品が固定されなかった 鉄の動きによってずれが生じた | はんだ付けをする際は、ピンセットを使って部品を固定してください。 |
| リフティングパッド | アイロンの温度が高すぎる、または加熱時間が長すぎる ―プレッシャーが大きすぎる | – アイロンの温度を調節する はんだ付けの際は、最小限の圧力をかけるようにしてください。 |
| ESDによる損傷 | – 静電気放電対策なし | 静電気防止リストストラップと帯電防止マット、精密機器には帯電防止ピンセットを使用してください。 |
SMD はんだ付けリワークのやり方
表面実装デバイスのはんだ付け作業は繊細な作業ですが、 プリント基板の修理 修正や改造は避けられません。細心の注意が必要ですが、基板に損傷を与えることなくSMD部品のはんだ除去と交換を成功させることは可能です。次に、ホットエアーはんだごてとはんだごてを使ったSMDはんだ付けリワークの方法をご紹介します。
はんだ除去 なので老化 Iロン
部品のピンにフラックスを塗布し、200~400℃の適切なはんだごて先を選択します。ピンを加熱してはんだを溶かし、ピンセットで部品を取り外します。部品の種類によって手順は若干異なります。具体的な手順は以下のとおりです。
2端子SMD部品 – まず、片方の端にはんだを塗り、はんだごてで加熱します。はんだが溶けている間に、もう一方の端を素早く加熱します。両端が溶けたら、ピンセットを使って部品を取り外します。はんだごてを2つ使用すれば、両端を同時に加熱できます。
デュアルインラインパッケージ(DIP)IC ピンにフラックスを塗布し、一列に沿ってはんだを積み重ねます。はんだごてをピン列に沿って動かし、はんだを溶かします。溶けた側のICとパッドの間にピンセットを差し込み、ピンを持ち上げます。はんだごてまたははんだ吸取線を使って余分なはんだを取り除きます。反対側も同様の操作を繰り返し、部品を完全に取り外します。
クアッドフラットパッケージ(QFP)IC – ピンとはんだ吸い取り線にフラックスを塗ります。はんだ吸い取り線をピンの列の上に置き、はんだごてで加熱します。ピンとパッドの間に薄い非濡れ性の鋼板シムを挿入して、ピンを持ち上げます。チップが外れるまで、すべての面についてこの手順を繰り返します。
はんだ除去 a ホットエアガン
チップ部品 まず、部品のはんだ付けパッドにフラックスを塗布します。ホットエアガンを部品から約0.5cm離して構えます。部品が均一に加熱されるようにホットエアガンを前後に動かしながら、はんだが溶けているかどうかを確認します。はんだが溶けたら、ピンセットを使って部品を素早く垂直に持ち上げます。
ICコンポーネント まず、取り外すIC部品の周囲に耐熱テープを巻き付け、熱風ガンが隣接する部品を損傷しないようにします。熱風ガンの位置は、チップ部品を取り外すときとほぼ同じです。はんだ接合部が溶けたら、真空式はんだ吸取ペンを使って部品を垂直に持ち上げます。
最終的な考え
SMDはんだ付けは、途方もなく小さな部品や接合部を扱うため、最初は難しそうに思えるかもしれません。しかし、少し練習し、適切な工具を使い、しっかりとした技術を身につければ、ほぼあらゆるサイズの部品をはんだ付けできるようになります。表面実装部品はますます小型化し、基板の高密度化が進む中、SMDはんだ付けのスキルを習得することは、PCB初心者や電子工作愛好家にとって必須となりつつあります。
よくあるご質問
- はんだ付けにおけるSMDとは何ですか?
これは表面実装デバイス(SMD)の略で、小さなパッド上に配置され、パッドにはんだ付けされます。
- SMD vs. SMT: 違いは何ですか?
SMD(表面実装デバイス)とは、プリント基板(PCB)の表面に直接実装するように設計された部品のことです。SMT(表面実装技術)とは、これらの部品をPCBに実装する工程のことです。
要するに:
SMD = 部品
SMT = それらを組み立てるために使用されるプロセス
- SMDのはんだ付けは難しいですか?
ほとんどのSMD部品は比較的簡単に半田付けできます。しかし、一部の部品はピンにアクセスしにくい場合があります。SMD部品の半田付けには、ホットエアガンまたはホットエア半田付けステーションを使用することをお勧めします。
- SMD部品のはんだ付けにはフラックスが必要ですか?
はい、常に不可欠です。フラックスはSMDはんだ付けにおいて重要な役割を果たします。パッドや部品リードの酸化物を除去し、はんだの濡れ性を向上させます。