Like a raincoat shields you from a storm, PCB protective coating acts as a shield for printed circuit boards against environmental threats. PCBs form the nervous system of electronics, channeling power and signals to components in everything from appliances to supercomputers. But without protection, even the best quality boards are susceptible to corrosion, electrical shorts, and other modes of failure when exposed to moisture, chemicals, heat, and contaminants. In this article, we will explain what PCB protection coating is, and the common types. Highlighting the methods to measure, cure, and remove the coating. Let’s dive right in.
What Is Protective Coating in PCB?
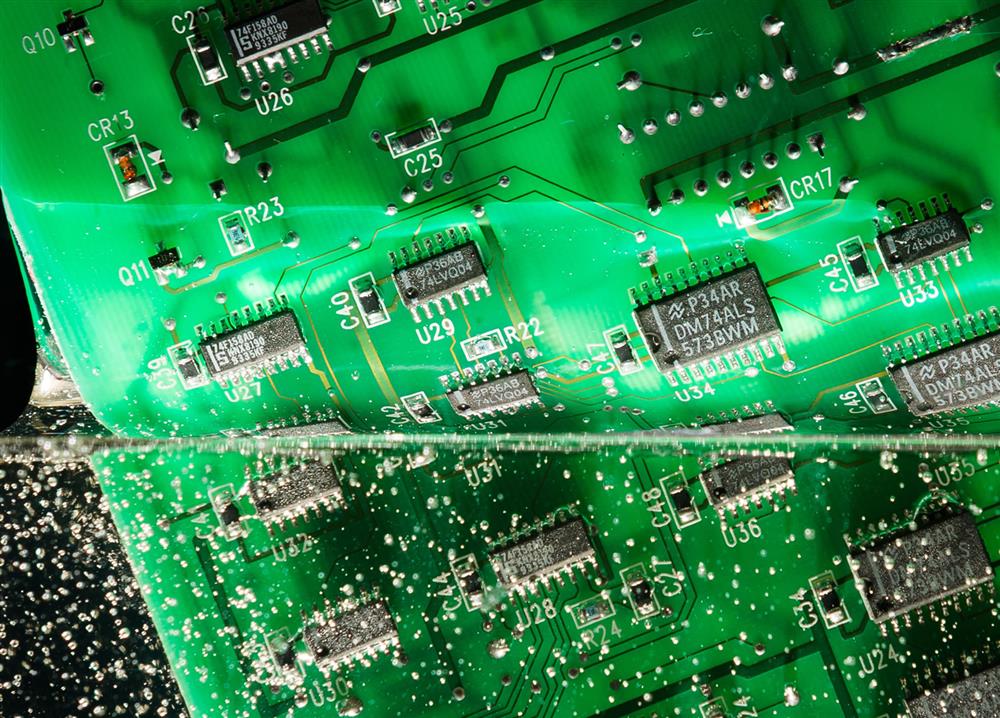
Protective coating on printed circuit boards is a thin polymer film that is applied to cover the entire board and components. This coating serves as a barrier to protect against environmental contaminants such as moisture, dust, chemicals, and temperature extremes that could lead to corrosion or short circuits. The polymer coating conforms to the various shapes and geometries of the PCB components and traces, enveloping them completely while adding only a minimal thickness. It helps prevent dendrite growth or electrical tracking between conductors over time.
PCB Protective Coating Types: Choosing the Right One

Choosing the right conformal coating for your printed circuit board is crucial to ensuring optimal protection against environmental hazards. Different coating types are formulated to withstand specific operating conditions. Therefore, you must carefully select the coating that best suits your application and meets your protection requirements. Several common options for PCB coatings are available, each with their own advantages and uses:
Acrylic Coating
Acrylic coatings are derived from acrylic or polyurethane resins dissolved in a solvent. When applied to a PCB, the solvent evaporates leaving the acrylic resin to form a conformal protective film over components and traces. Acrylic coatings provide good resistance against moisture, fungus growth, and corrosion. However, acrylic coatings have limited chemical and solvent resistance.
Silicone Coating
It is formed from silicone resins that are crosslinked with moisture after application, creating a flexible protective film. Silicone coatings offer excellent resistance to moisture, oxidation, chemicals, and high temperatures. However, silicone provides minimal abrasion resistance and can be difficult to repair if damaged. It also has limited corrosion protection.
Urethane Coating
Urethane coating is made from polyurethane resins dissolved in solvents. After application, the solvents evaporate, leaving a durable urethane film. Urethane coatings resist moisture, chemicals, abrasion, and extreme temperatures. However, their rigid characteristics restrict their applicability on flexible boards. Urethane coatings also contain solvents during application.
Paraxylylene Coating
Paraxylylene coatings are applied via vapor deposition in a vacuum chamber, allowing an extremely conformal and uniform film over every surface. Paraxylylene offers superior resistance to moisture, chemicals, abrasion, and extreme temperatures. However, vapor deposition is an expensive process requiring skillful application.
Epoxy Coating
This kind of PCB protective coating formulated from epoxy resins crosslinked with a curative or hardener. This creates a hard, durable coating with excellent chemical, abrasion, and solvent resistance. However, epoxy coatings have limited moisture resistance and brittle nature. They adhere very well to PCB substrates.
How to Measure PCB Protective Coating Thickness?
The thickness of PCB protective coating depends on the PCB board functions, weight, and profile. We consider many factors when deciding on how thick of an application is needed. A thinly applied coating with result in potential damage to the components as there wouldn’t be enough of a layer to protect against the risks of the environment. Too much? That will add to uneven and frankly unnecessary stress on the solder and other components. The thickness applied to properly coat should fall within the range of 25-250 micrometers and should be applied evenly. Remember, over or under applying the recommended thickness could result in damage. So how to measure the coating thickness precisely? There are two different methods:
- Dry Measurement
Only applicable after the coating has dried sufficiently, otherwise there is a risk of damage. There are numerous ways to check the PCB coating thickness, however, it is most convenient to use calipers. As long as you took a previous measurement of the areas you applied the coating to, simply re-measure the same areas after the application of the coating. Averaging the before and after measurements will give you the thickness of the applied coating. This seems simple enough.
- Wet Measurement
With a wet film gauge, which resembles a fine-tooth comb, the thickness of the coating application can be measured while it’s still wet, allowing for adjustment as needed prior to drying. The wet film gauge has engraved measurements, so a careful eye is needed to evenly apply the coating. Once this method is mastered, it’s fairly straightforward.
Either method produces accurate results, it’s a matter of preference which to apply. However, it is recommended to use the dry measurement method until you’re comfortable working with and applying the coating. At that point, you can work on mastering the wet measurement.
How to Cure PCB Protective Coating?
- Moisture Cure Coating
The utilization of atmospheric moisture is required to cure in this manner. Humidity plays a vital role in this process, therefore manipulating the humidity can greatly reduce the amount of time needed for the curing process. Conventional ovens, IR ovens and humidifiers are perfect tools that can accelerate the curing process. Be aware, leaving containers unsealed for a prolonged amount of time will cause moisture to be absorbed, facilitating the curing process.
- Heat Cure / Evaporation Cure Coating
If this method is applied to solvent-based conformal coatings, the evaporation process will rapidly accelerate by applying a heating element. As the liquid evaporates, it leaves behind a coating resin which will also need to be removed. This method has the potential to alter the coating properties which will cause defects if not applied correctly. While heating, the thermal sensitivity of the components and boards must be accounted for and considered prior to application.
- UV Cure Coating
This method utilizes the intensity of ultraviolet light, creating a chemical reaction within the coating that causes exposed areas to immediately begin the curing process. This method requires a second curing process, due to the fact it’s impossible for the ultraviolet light to hit every area needed for curing. This application is predominantly used for instant results; the application process shouldn’t be left unattended.
The curing methods listed above offer the most practiced applications for curing the conformal coating. It is recommended. However, to implement the moisture and heating curing method over the UV. Once familiarized with the first 2 methods, you can cautiously proceed to UV.
Methods of Conformal Coating Removal
- Solvent Removal
When removing conformal coatings, choose a solvent that won’t harm the board’s components. Acrylic coatings dissolve quickest in solvents. Silicone and urethane coatings need more soak time and brushing for full removal. For small areas, a remover pen dissolves coatings precisely. Always verify solvent compatibility to avoid board damage. Test on patches first before overall removal.
- Peeling
Some conformal coatings, like silicone and flexible types, can be peeled off circuit boards manually without solvents. Peelable coatings allow removal by slowly pulling the coating film at a shallow angle. Peeling avoids solvents but risks component damage if not done carefully. It provides fast, affordable removal when the coating permits peeling.
- Burn-through
One technique that can be used for removing the coating is to carefully burn through it using a hot soldering iron. The heat melts away the coating above the work area. This thermal burn-through method works for most coatings and avoids extra removal steps. Care is needed to not overheat sensitive components. When done properly, it removes coating locally synchronized with rework needs.
- Microblasting
Microblasting is a method for eliminating conformal coatings, employing a concentrated mixture of gentle abrasives and compressed air to abrade the coating. And it is particularly suitable for the removal of small sections of conformal coating and finds frequent application in the removal of Parylene and epoxy coatings.
- Grinding/Scraping
This technique involves removing protective coating by abrasion on the PCB. This technique is particularly effective for tougher conformal coatings like parylene, epoxy, and polyurethane. However, it’s typically considered a last-resort method because of the high risk of major damage to the board.