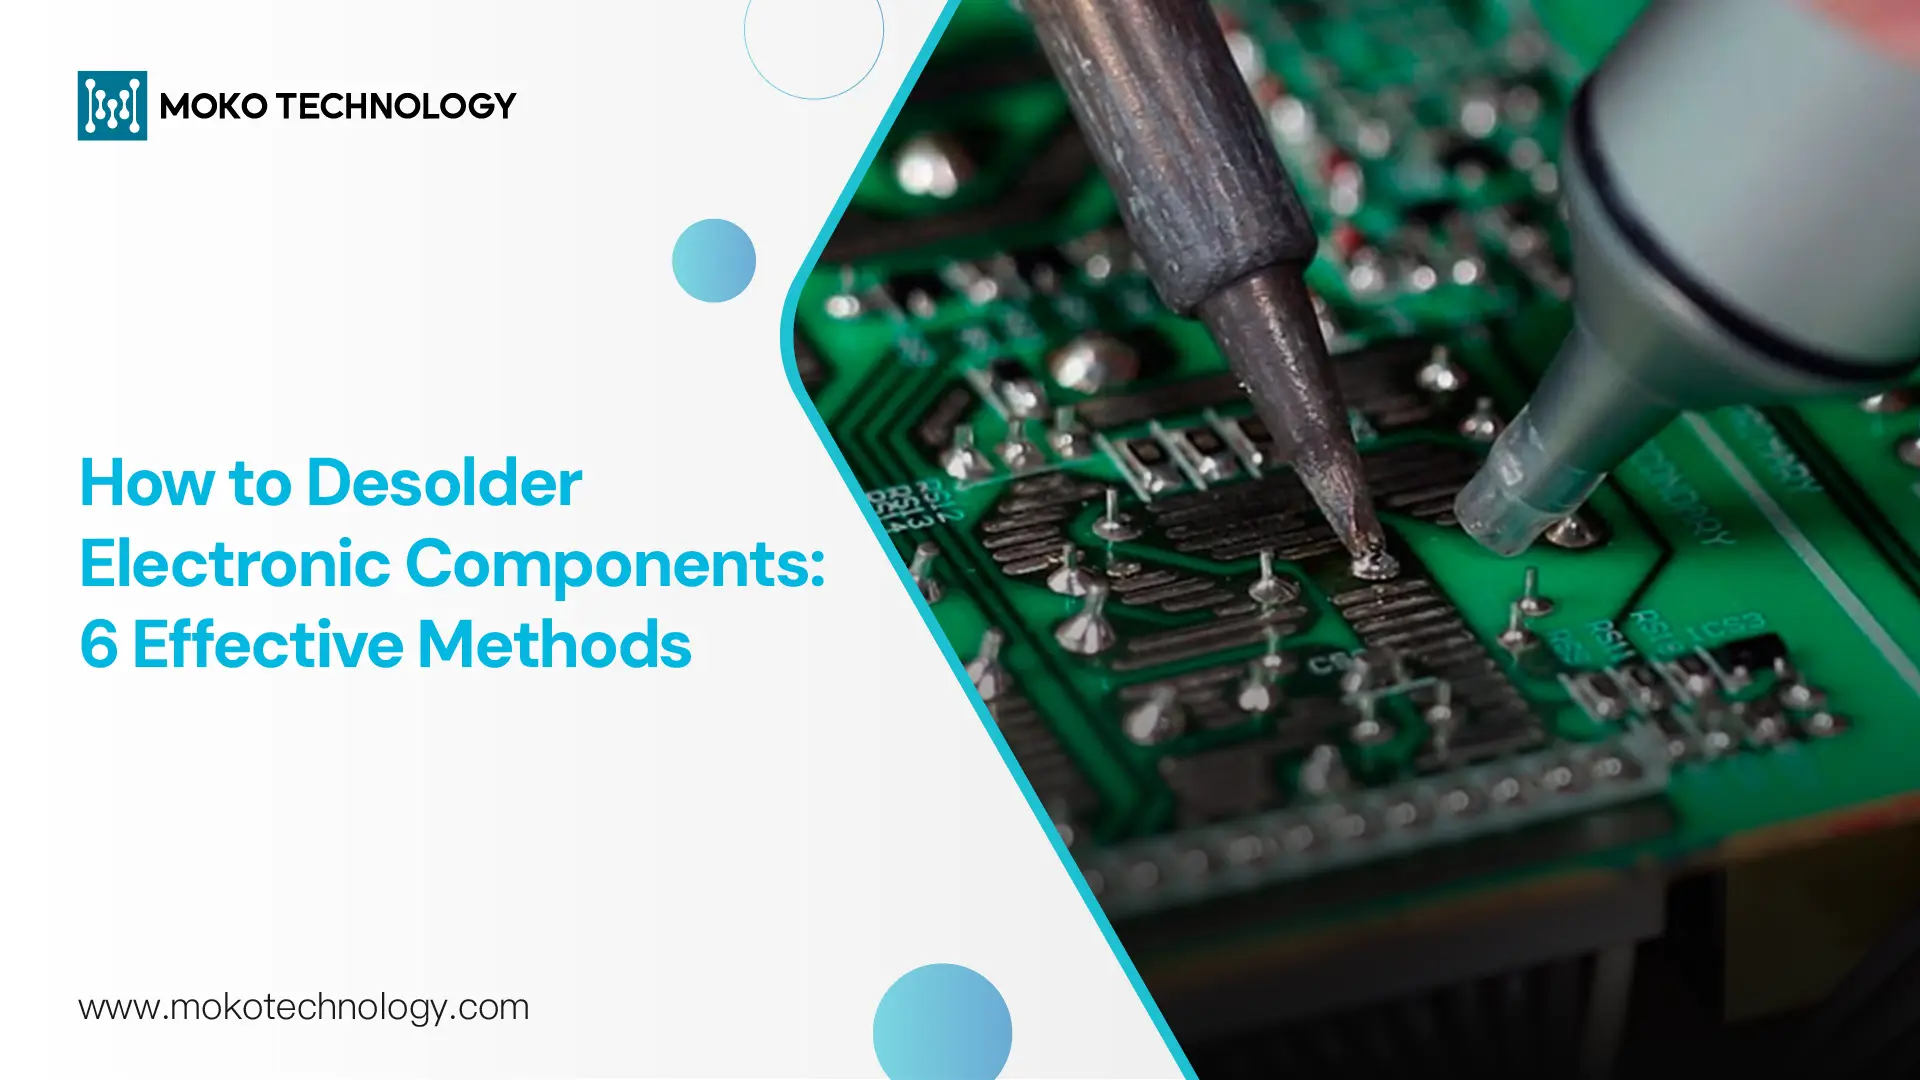
The soldering of electronic components onto circuit boards is a very necessary step in PCB assembly. However, what if you put the wrong component, or you need to upgrade the component later? That is the time when you would need desoldering. Desoldering is a process that removes the solder and components from a printed circuit board or any other type of electronic assembly. This is a meticulous process and it can easily damage the board, or the components, if not properly done. Thus, it is important to know how to desolder properly. This guide explains six proven desoldering methods suitable for beginners, electronics repair technicians, and PCB assembly professionals. Let us begin.
6 Proven Desoldering Methods for PCB Rework
Removing components from a PCB without causing damage requires the proper desoldering method. The following are six proven techniques ranging from basic manual methods to advanced powered systems.
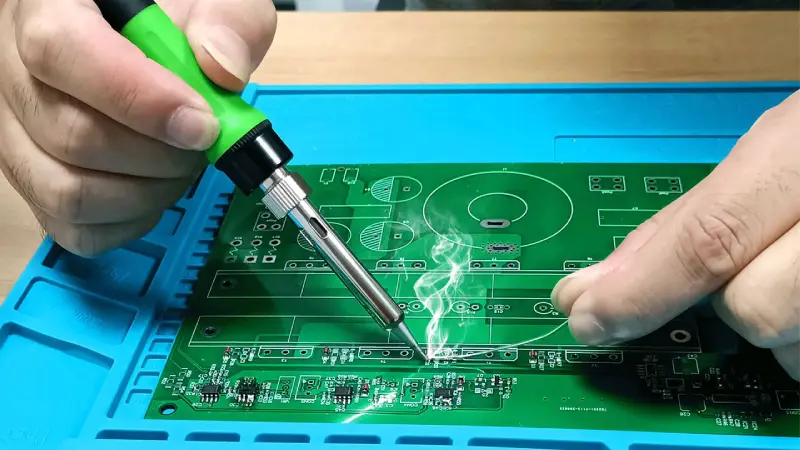
How to Desolder with a Soldering Iron
Step 1: The soldering iron should be heated up to the temperature that the solder can melt.
Step 2: Turn on the soldering iron and place it on the solder joint and heat it up until the solder has melted.
Step 3: The tip of the iron should be gently pushed to move the component pins and thus, the solder will be taken away from the joint.
Step 4: By applying the pliers, you can pull the component out of the PCB.
Remove components NOTE: The force should be on the tips of the components, because while applying force to the main body, the damage to the components might be caused.
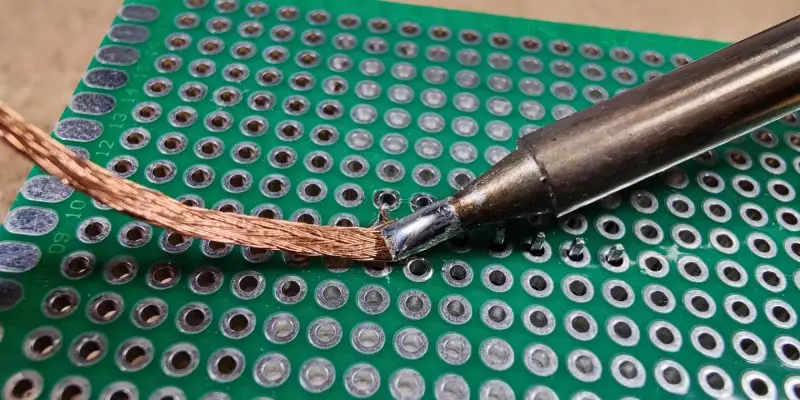
Using a Desoldering Braid
To use a desoldering braid effectively, following below steps:
Step 1: Prepare the braid by dipping the end into some solder flux if it doesn’t have a flux coating already. The flux helps the solder flow and wick into the braid better.
Step 2: Using tweezers or pliers to handle the braid (since it will get very hot), position the fluxed end of the braid over the solder joint or component lead you want to desolder.
Step 3: Place the tip of your hot soldering iron onto the braid and the component lead simultaneously. As the solder melts, it will get absorbed or wicked into the braid’s braided copper wires. Keep the braid and iron in place until all the solder is removed from the joint.
Step 4: If some solder remains, reposition the braid to expose a fresh section and repeat step 3. Trim off any used, solder-saturated portions of the braid as you go to work with a clean section.
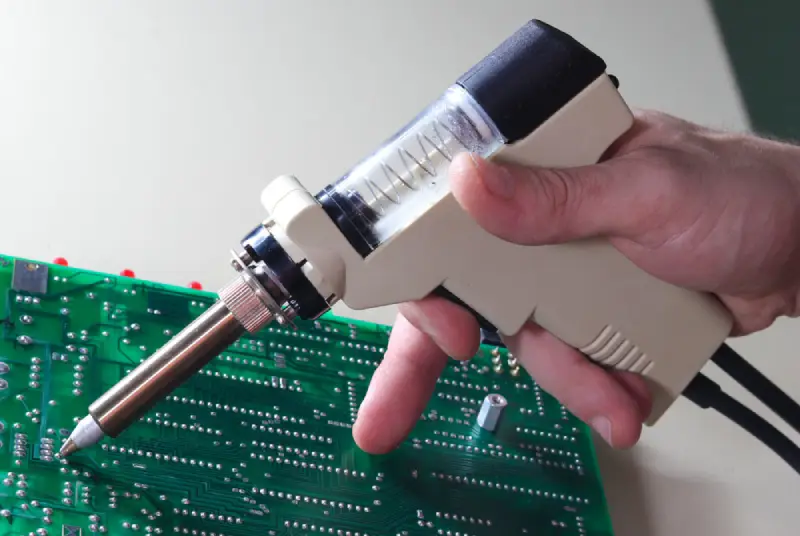
How to Use a Desoldering Pump
A desoldering pump is a necessary tool that uses the force of suction to remove the molten solder from the circuit board hole and pads.
Step 1: Heat the solder joint you want to desolder with your soldering iron until the solder turns completely into the liquid state.
Step 2: Put the suction cup tip of the pump directly above the molten solder joint.
Step 3: The handle of the pump should be squeezed to make suction inside the tip.
Step 4: Although, you have to keep the tip of the pump pressing the joint firmly, you have to quickly release the pump handle. The molten solder will be drawn into the pump’s internal reservoir.
Desoldering with a Power Desoldering Station
Desoldering the large-scale or the tricky tasks, a temperature-controlled desoldering station gives better control and efficiency than the manual methods. These specialized power tools are meant to be used for the desoldering of numerous components.
Common desoldering station types include:
- The through-hole desoldering stations which involve the use of suction or desoldering wicks to remove the through-hole components in a good way.
- Hot tweezer stations, essential for surface-mount work, using heated tweezers to grip and desolder SMD componentsfrom their pads.
- Hot air rework stations that use scorching 800-1000°F airflow to melt solder cleanly, facilitating safe desoldering of surface-mount parts.
As to the use of desoldering station, it’s crucial to consult the instruction manual for proper usage of the specific station type.
How to Desolder with aSoldering Pot
A solder pot is usually employed to desolder several connections and bigger components at the same time. This tool has a heated reservoir with molten solder which, in turn, makes the solder joints easy to remove. Here’s how it works:
Step 1: Check if the pot is clean and heated to the correct temperature before you melt your solder alloy. The joints you want to desolder should be treated with some flux – this will make the solder to flow smoothly.
Step 2: By means of tweezers or a tool, carefully, put the component right into the molten solder bath. Let is stay for a few seconds until the solder joints become liquid. After that, carefully lift the component out, letting the excess solder spill back into the pot.
Step 3: Verify that all the joints are clean and solder-free. In case of necessity, use a brush or a cleaner to clean out the flux residue.
How to Desoler with Compressed Air
Using compressed air for desoldering can be implemented in two different ways: using a soldering iron or not using a soldering iron.
Option 1: Using a Soldering Iron
Heat the Solder: Use a soldering iron to melt solder at the joints of the component you want to remove.
Apply Compressed Air: Place the nozzle of a compressed air gun near the melted solder.
Blast the Solder Away: Trigger the compressed air gun to forcefully blow the melted solder off the PCB to clear the joint.
Option 2: Without a Soldering Iron
Prepare Compressed Air Can: Turn a can of compressed air upside down to use it in a way that it sprays out freezing liquid it contains.
Spray on Solder: Direct this spray into the solder joints of the component. The extreme cold will make the solder brittle.
Remove the Component: After a few minutes, you can either gently pull out the component with pliers or, if it is firmly soldered, lightly tap the joint to break the now brittle solder and then remove the component.
Comparison of Desoldering Methods: Pros and Cons
The following table provides a side-by-side comparison of the pros and cons of each desoldering method:
| Desoldering Method | Pros | Cons |
| Soldering Iron | • Requires only a soldering iron • Simple setup • Components can often be reused | • High risk of PCB damage if overheated • Poor control on multi-pin parts |
| Desoldering Braid (Wick) | • Low cost and easy to use • Available in multiple sizes • Excellent for flat pads • Components can be reused | • Not reusable • Difficult to reposition once hot • Ineffective for plated-through holes |
| Desoldering Pump | • Available in manual and powered versions • Effective at clearing pin holes • Components can be reused | • Tool body can be bulky • Limited access in tight spaces |
| Power Desoldering Station | • Integrated heat and suction • High efficiency and repeatability • Reduced PCB thermal stress | • High equipment cost • Requires training and maintenance |
| Soldering Pot | • Removes multiple leads at once • Very fast for batch desoldering | • High thermal stress • Safety risks from molten solder • Limited PCB compatibility |
| Compressed Air (with Iron) | • Very fast solder removal • Minimal additional tools • Components may be reused | • Solder splatter risk • Requires eye protection |
| Compressed Air (no Iron) | • No soldering iron required • Low heat exposure | • Components often not reusable • Limited control and reliability |
How to Choose the Right Desoldering Method?
Choosing the desoldering methods should be based on objective rework requirements. Key factors that need to be considered are listed below:
- Component Type and Package
The number of component leads and the package style have a direct influence on the choice of desoldering methods. A soldering iron or desoldering braid is commonly used when removing components with a single lead. In the case of multi-pin through-hole parts, it is advisable to use vacuum desoldering stations to avoid barrels damage and pads lifting. Hot air rework stations or infrared reflow systems is typically used when desoldering fine pitch and BGA components.
- PCB Structure
Single-layer PCBs or PCBs with low component density are normally desoldered by manual methods like soldering irons, desoldering braid, or manual pumps. This is not the case, however, with multilayer PCBs or high-density PCBs, which are more difficult to desolder and hence necessitate the use of temperature-controlled desoldering stations that minimize the chances of pad lifting, delamination, and internal trace damage.
- Thermal Sensitivity
In the case of desoldering heat-sensitive components and densely populated assemblies, temperature should be carefully monitored to prevent PCB damage. Different solder types have varying melting points. Lead-free solder also requires higher rework temperatures (260-280°C) than leaded solder (220-240°C). This temperature difference makes temperature-controlled desoldering stations necessary, since manual tools cannot provide precise heat control.
- Solder Volume and Joint Geometry
The size of joints and the form of holes also affect the types of desoldering methods used. Select desoldering braid or fine-tip soldering iron when dealing with small solder joints and flat pads. Contrarily, in cases of desoldering large solder joint and plated-through holes, the vacuum desoldering stations are used to remove the solder completely.
- Component Reusability Requirements
When the components are required to be reused, methods such as desoldering pumps, hot air rework systems, or desoldering braid can be utilized. When the components are disposable, alternative desoldering techniques that are quicker and easier may be considered, provided they do not cause damage to the printed circuit board.
Frequently Asked Questions about Desoldering Components
What is the best way to desolder components?
There is no single best method for all cases. The best desoldering process depends on the component package, PCB structure, solder volume, and the reuse of the component
What are common desoldering mistake?
The most frequent mistakes are overheating the solder joint, applying excessive force when removing components, using the wrong type of tools for the solder joint, lacking adequate flux application, and trying to desolder several pins together without appropriate solder removal.
How to desolder without wick?
Other techniques such as desoldering pumps, vacuum desoldering stations or controlled soldering iron can be used to desolder components without the employment of commercial desoldering wick. Moreover, a temporary solder wick can be prepared by attaching stranded copper wire with flux, which may be used like regular desoldering braid in order to absorb the molten solder.