First and foremost, PCB soldering is among the most fundamental skills that you can dabble when it comes down to the universe of electronics. The fact is that they go hand in hand, similar to carrots and peas. And, even though it is possible to learn more about and create electronics without the need to pick up any soldering iron, you will get to find out that a whole new globe will be opened with just a skill like that. In this blog, we will give a basic overview of PCB soldering including its definition, types, process, and so on, let’s dive in…
What Exactly Is PCB Soldering?
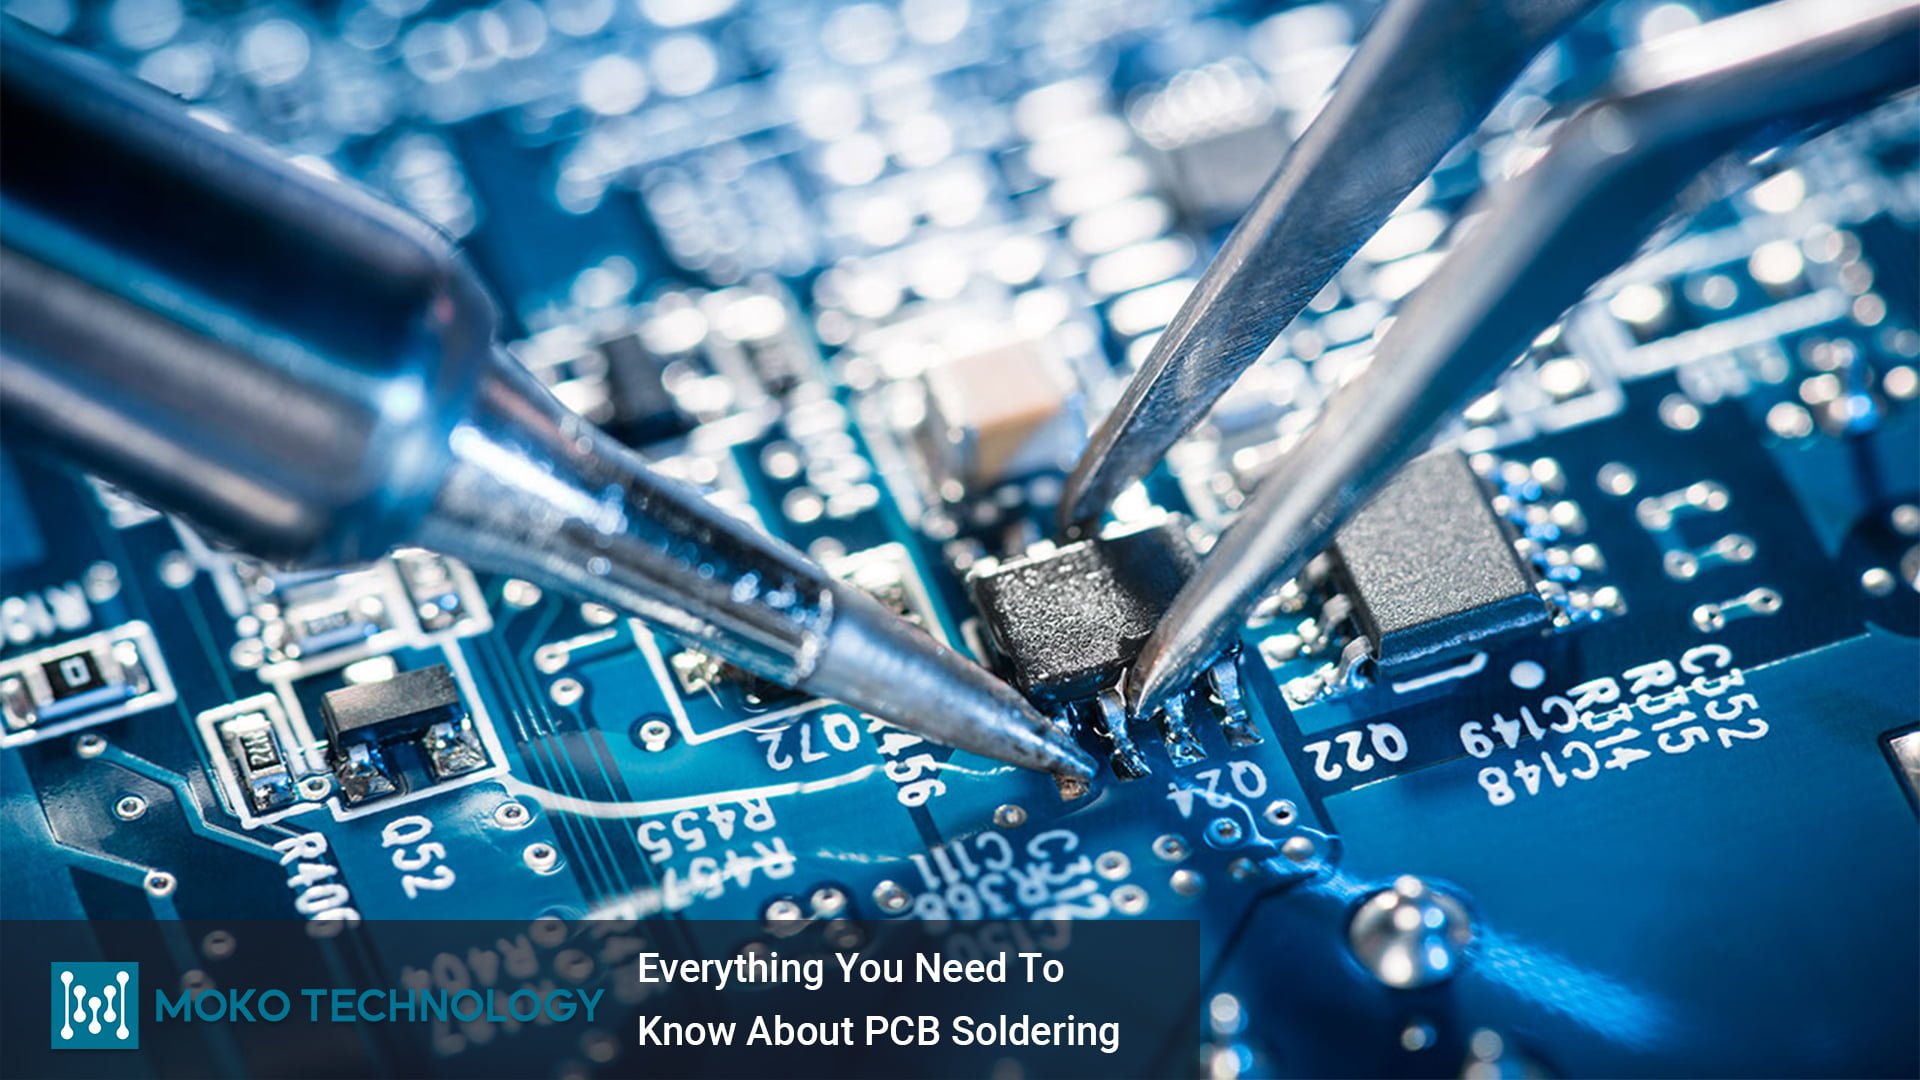
If you never knew, well, soldering is referred to as a process where two or more items are merged through melting and placing a filler metal, which is the solder into the joint. All you need to pull off the simplest soldering activity is a soldering iron, some solder, and the parts to be soldered together. The top of the iron is normally used to heat the solder, and it enables it to flow all over the parts. Furthermore, the solder gets to stick to the tip in a bid to assist in transferring the heat and raising the temperature of the metallic part to the melting point of the solder. And this will enable the component to stick very well to the PCB.
Note that the filler metal actually has a much more reduced melting point than the adjoining metal. Differing from welding, soldering does not have anything to do with melting the pieces of work.
Also, in brazing, workpiece metal is not melted, but the filler metal is the one that gets to melt at very high temperatures when it comes down to soldering. Over some decades ago, almost all the solders contained lead, while environmental and health concerns have grown to dictate the use of lead-free alloys for both plumb and electronic purposes.
Below we have listed various types of PCB soldering which include:
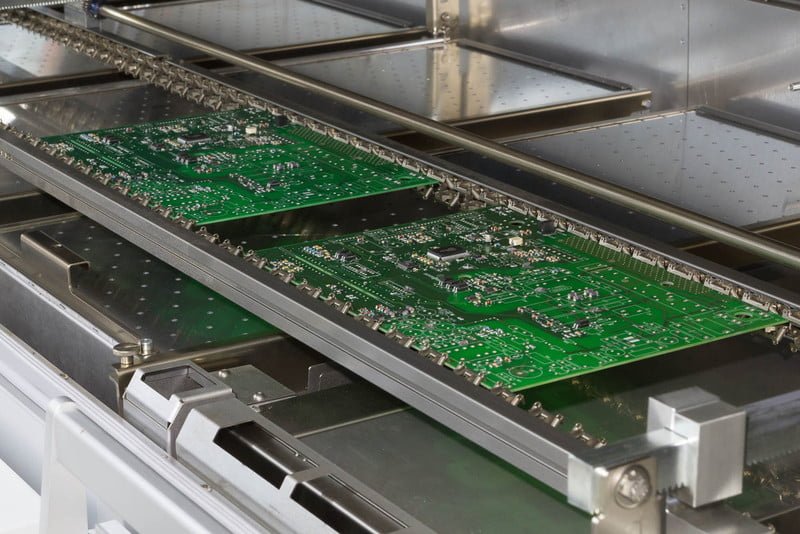
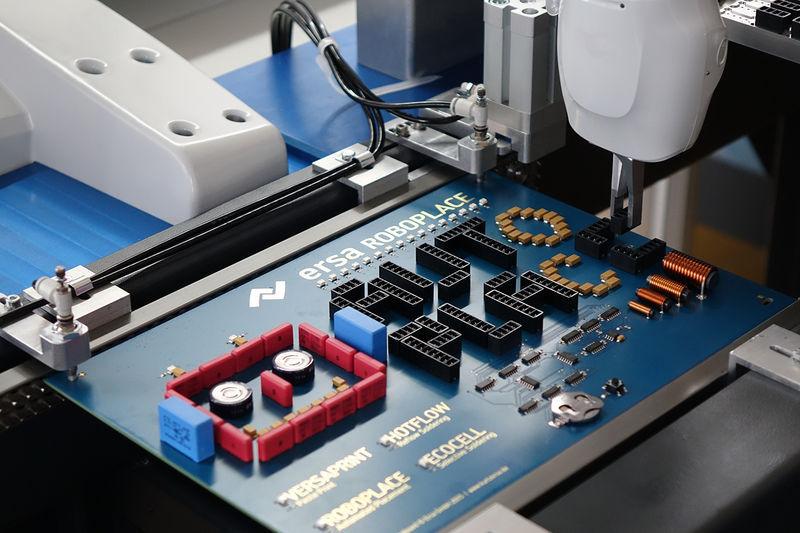
It is the most common technique that people make use of. Here, a specific amount of sturdy solder is placed in a certain location on an object, and it is then sent straight into what is known as a reflow oven.
Subsequently, the heat of the reflow gets to liquefy the solder, and it solidifies once it exits the oven — this aids in creating the solder joint.
Wave Soldering

This is a type of selective soldering whereby specific parts of a board are soldered as the components have to be secured on these parts. It is carried out by developing a wave of solder that is liquid.
It is quite a versatile process since wave soldering machines are highly capable of easy joints like dragging a board and components via the wave.
Hand Soldering

Have it in mind that the default technique of soldering in almost all history of man has actually been hand soldering. It is taken as a craft in every sense of the word since there is actually science and art to this soldering.
With hand Soldering, there are painstaking precisions and details involved. This is because there are specific joints that digitally controlled or reflow machines cannot undertake.
The drawback that are involved in this hand Soldering is the fact that there are not so many products that demand it.
Also, the amount of people entering this field is very few, and the struggle of training a person until they can carry out the process intensively is costly.
Laser Soldering
It is almost the same as the reflow soldering. The sense that, sturdy solder is placed on a board and then heated until it begins flowing and completes the solder joint. But, it is carried out with the aid of a laser in certain locations.
It is the most flexible and ultimate in terms of precision. Sure mount components and through-hole can also be laser soldered too. Furthermore, this type of PCB Soldering tends to pose reduced risks since it makes use of a scalpel and not a broadsword.
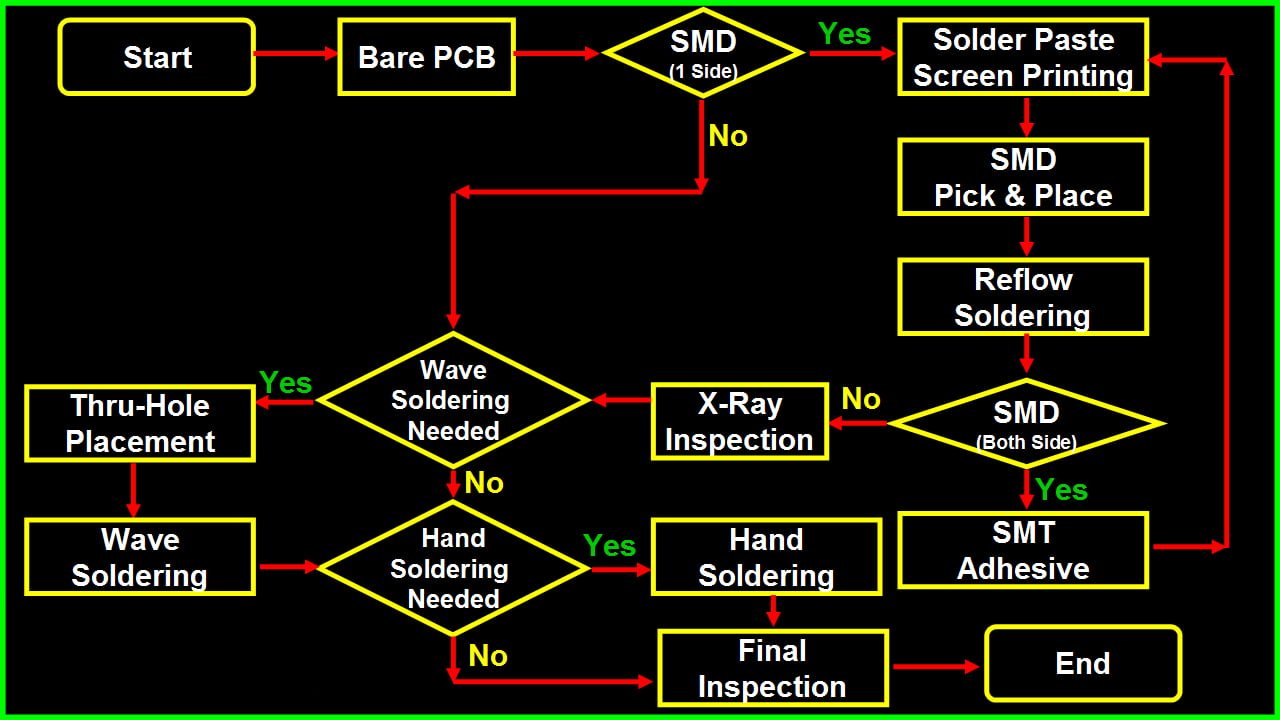
The PCB Soldering Process
We will be taking a quick look at the PCB Soldering process. This process involves:
- Surface preparation
If you are searching for a powerful yet low-resistance solder joint, then a clean surface is vital. All of the surfaces that are going to be soldered must be cleaned appropriately. You can make use of 3M scotch Brite pads gotten from automotive body shops
This is because they will swiftly remove the surface tarnish and not affect the PCB material you want to work on. When the board is finally cleaned to the point of shiny copper, you can make use of a solvent like acetone.
- Placement of component
Once you are done with cleaning both the component and board, you are set to place the components on the board. Except your circuit is easy and entails few components, you cannot place all of the components on the board and solder them immediately.
Very likely, you will have to solder some of the components one at a time before you turn the board over and place some more. On a general note, it is ideal that you begin with the flattest and smallest components and move to the big components later on.
- Application of heat
You will have to apply a very small amount of solder to the tip of your iron because it will assist in conducting the heat down to both the board and the component. But, it is not the solder that is responsible for making up the joint.
In a bid to heat the joint, you will have to lay the tip of your iron so that it rests against the component lead as well as the board. It is crucial that you get to heat both the lead and the board; else, the solder will easily pool and not stick to the unheated object.
Furthermore, the little amount of solder that you placed to the tip before you began heating the joint will assist in making contact between the lead and the board.
- Application of solder to the joint
Immediately after the component lead and the solder pad have successfully been heated up, know that you are set to pay for the solder. What you will do is place the tip of the strand of solder to both the solder pad and component lead and not the iron’s tip.
Note that, if all of them are hot enough, the solder will freely flow all over the pad and lead. You will get to see how the flux melts and liquefy also.
Keep on adding solder to the joint till the pad is totally coated, and the solder has formed a little mound that has concave sides.
However, if it should begin balling up, you will have to make use of much solder or if the pad placed on the board is not as hot as you thought. At the end of the day, do not move the joint until the solder solidifies.
- Inspection of the joint and cleaning up
When you are done creating the joint, the next step to take is to inspect it. You should endeavor to inspect for cold joints, shirts with opposite pads, or poor flow. If the joint should check out, you can move into the next step.
The next step involves trimming the lead with a small set of side cutters, and you are to cut it at the top of your solder joint. Once you are done making all of the solder joints, you are to clean up the excess flux residue that is on the board.
Also, some of the fluxes are hygroscopic and can absorb so much water for them to be quite conductive. The majority of the fluxes will easily clean up by the use of methyl hydrate plus a rag while some may demand a much more powerful solvent.
Common Problems During PCB Soldering
Some of the problems you may encounter in the course of PCB Soldering are:
- Disturbed joint
It is a type of problem that involves being subjected to movement when the solder is solidifying. Here, the joint’s surface will either be rough, crystalline, or looking frosted. It is often mistaken for a cold joint as they appear similar.
- Cold joint
This occurs when the solder does not fully melt. It is frequently characterized by either a lumpy or a rough surface. They are unreliable, and the solder bond will have cracks.
- Overheated joint
Here, the solder does not flow well, and its residue of burnt flux makes fixing the joint very difficult to do.
- Insufficient wetting (pad)
Here, the two joints display signs of insufficient wetting of their solder pad. Note that the solder wets the leads nicely, but it does not form an ideal bond with the pad. It can be a result of a circuit board that is dirty or when you fail to apply heat to the pad and pin.
After listing these problems, you may be wondering how to know if there is a PCB soldering problem. Well, If you want to know if there is a problem with your PCB soldering, it depends on the sort of problem you are faced with.
For example, if it is a solder bridging, you will see that there is not enough space left between your solder mask layer and the pads. Here, the left two solder joints melt together to form a connection that was not intended.
When a manufacturer notices this, he can repair it by dragging off the tip of a very hot iron between the two merged joints. However, if the solder is too much, the manufacturer can make use of a solder sucker or wick to get rid of it.
How To Avoid and Solve These Issues
In cases whereby it is the buyer that notices any of the issues mentioned earlier with their PCB soldering, they are advised not to panic as they can all be repaired with just a little patience.
If the buyer wants to make the solder flow and it has refused to flow in the right direction and led to problems, he can relax and allow the joint to cool down, then clean and tin the iron after. Any burnt flux from the joint should be cleaned cautiously.
The next step is to allow the iron to heat up to a normal temperature. This is followed by reheating the joint and trying to let the solder flow again.
Note that, no matter the issue you come across with your PCB soldering, it can all be resolved. If, as a buyer, you have no idea what to do, it can always be taken to the manufacturer for repair.
Tips for PCB Soldering
When you are embarking on your PCB Soldering journey, you should:
- Avoid touching the tip or the element of your soldering iron. This is because the soldering iron element is always heated to about four hundred degrees.
- Do not touch the major flex with your soldering tip because most soldering stations have a heatproof flex for extra protection and security.
- Ensure that you return the soldering iron to its normal stand. You should never set up the Soldering iron on your workbench even around the area you work in as a whole.
- Try to solder in areas that are ventilated. This is because the fumes which are being released from the melting solder can be quite uncomfortable. It is always recommended that you move your head to the project’s side and not above the project. Like this, time can always be avoided.
- Ensure that you wash your hands after soldering. This is because soldering consists of lead, which is a very poisonous metal. When you are done handling your solder, wash your hands thoroughly immediately.
- Do not wear loosely fitted clothes. Such clothes can make you fall easily in your workplace.
Finally, before anybody thinks about putting on the soldering station, they must have a first aid kit around. Also, it is vital that you are always prepared for work accidents. You should pay attention to your environment and be very cautious with your soldering iron tip.
Wrapping It Up
We have been able to successfully explain in detail what PCB Soldering is all about and even how PCB emerged into the limelight, the steps involved in PCB soldering, problems that can occur, and finally, tips for PCB soldering.
MOKO has been offering, Surface Mount (SMT), Through-Hole, BGA, Cable & Wire Harness, Box Build assembly services for more than 16 years, you’re welcome to get to know more about us at https://www.mokotechnology.com/.